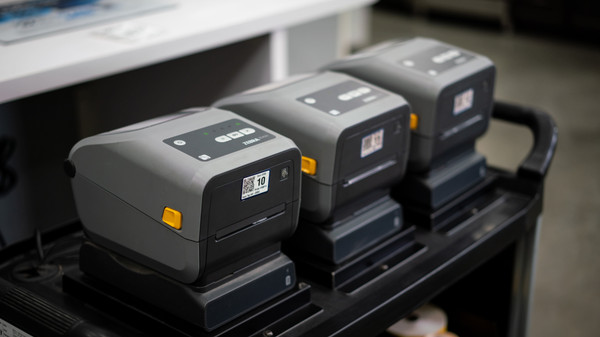
How to switch between Thermal Transfer and Direct Thermal
Posted by barcodes.com.au on Mar 19, 2024
In short this guide, you’ll learn how to switch between Thermal Transfer and Direct Thermal printing modes with your desktop label printer.
Note:
Before getting started, this process will only work if your printer is a thermal transfer model printer. You cannot change a direct thermal printer to a thermal transfer printing mode as it requires ribbon and the printer needs to be physically fitted with a roller to insert the ribbon.
Thermal transfer printers like ZD421T Desktop Label Printer or any similar thermal transfer models can also be used with direct thermal labels.
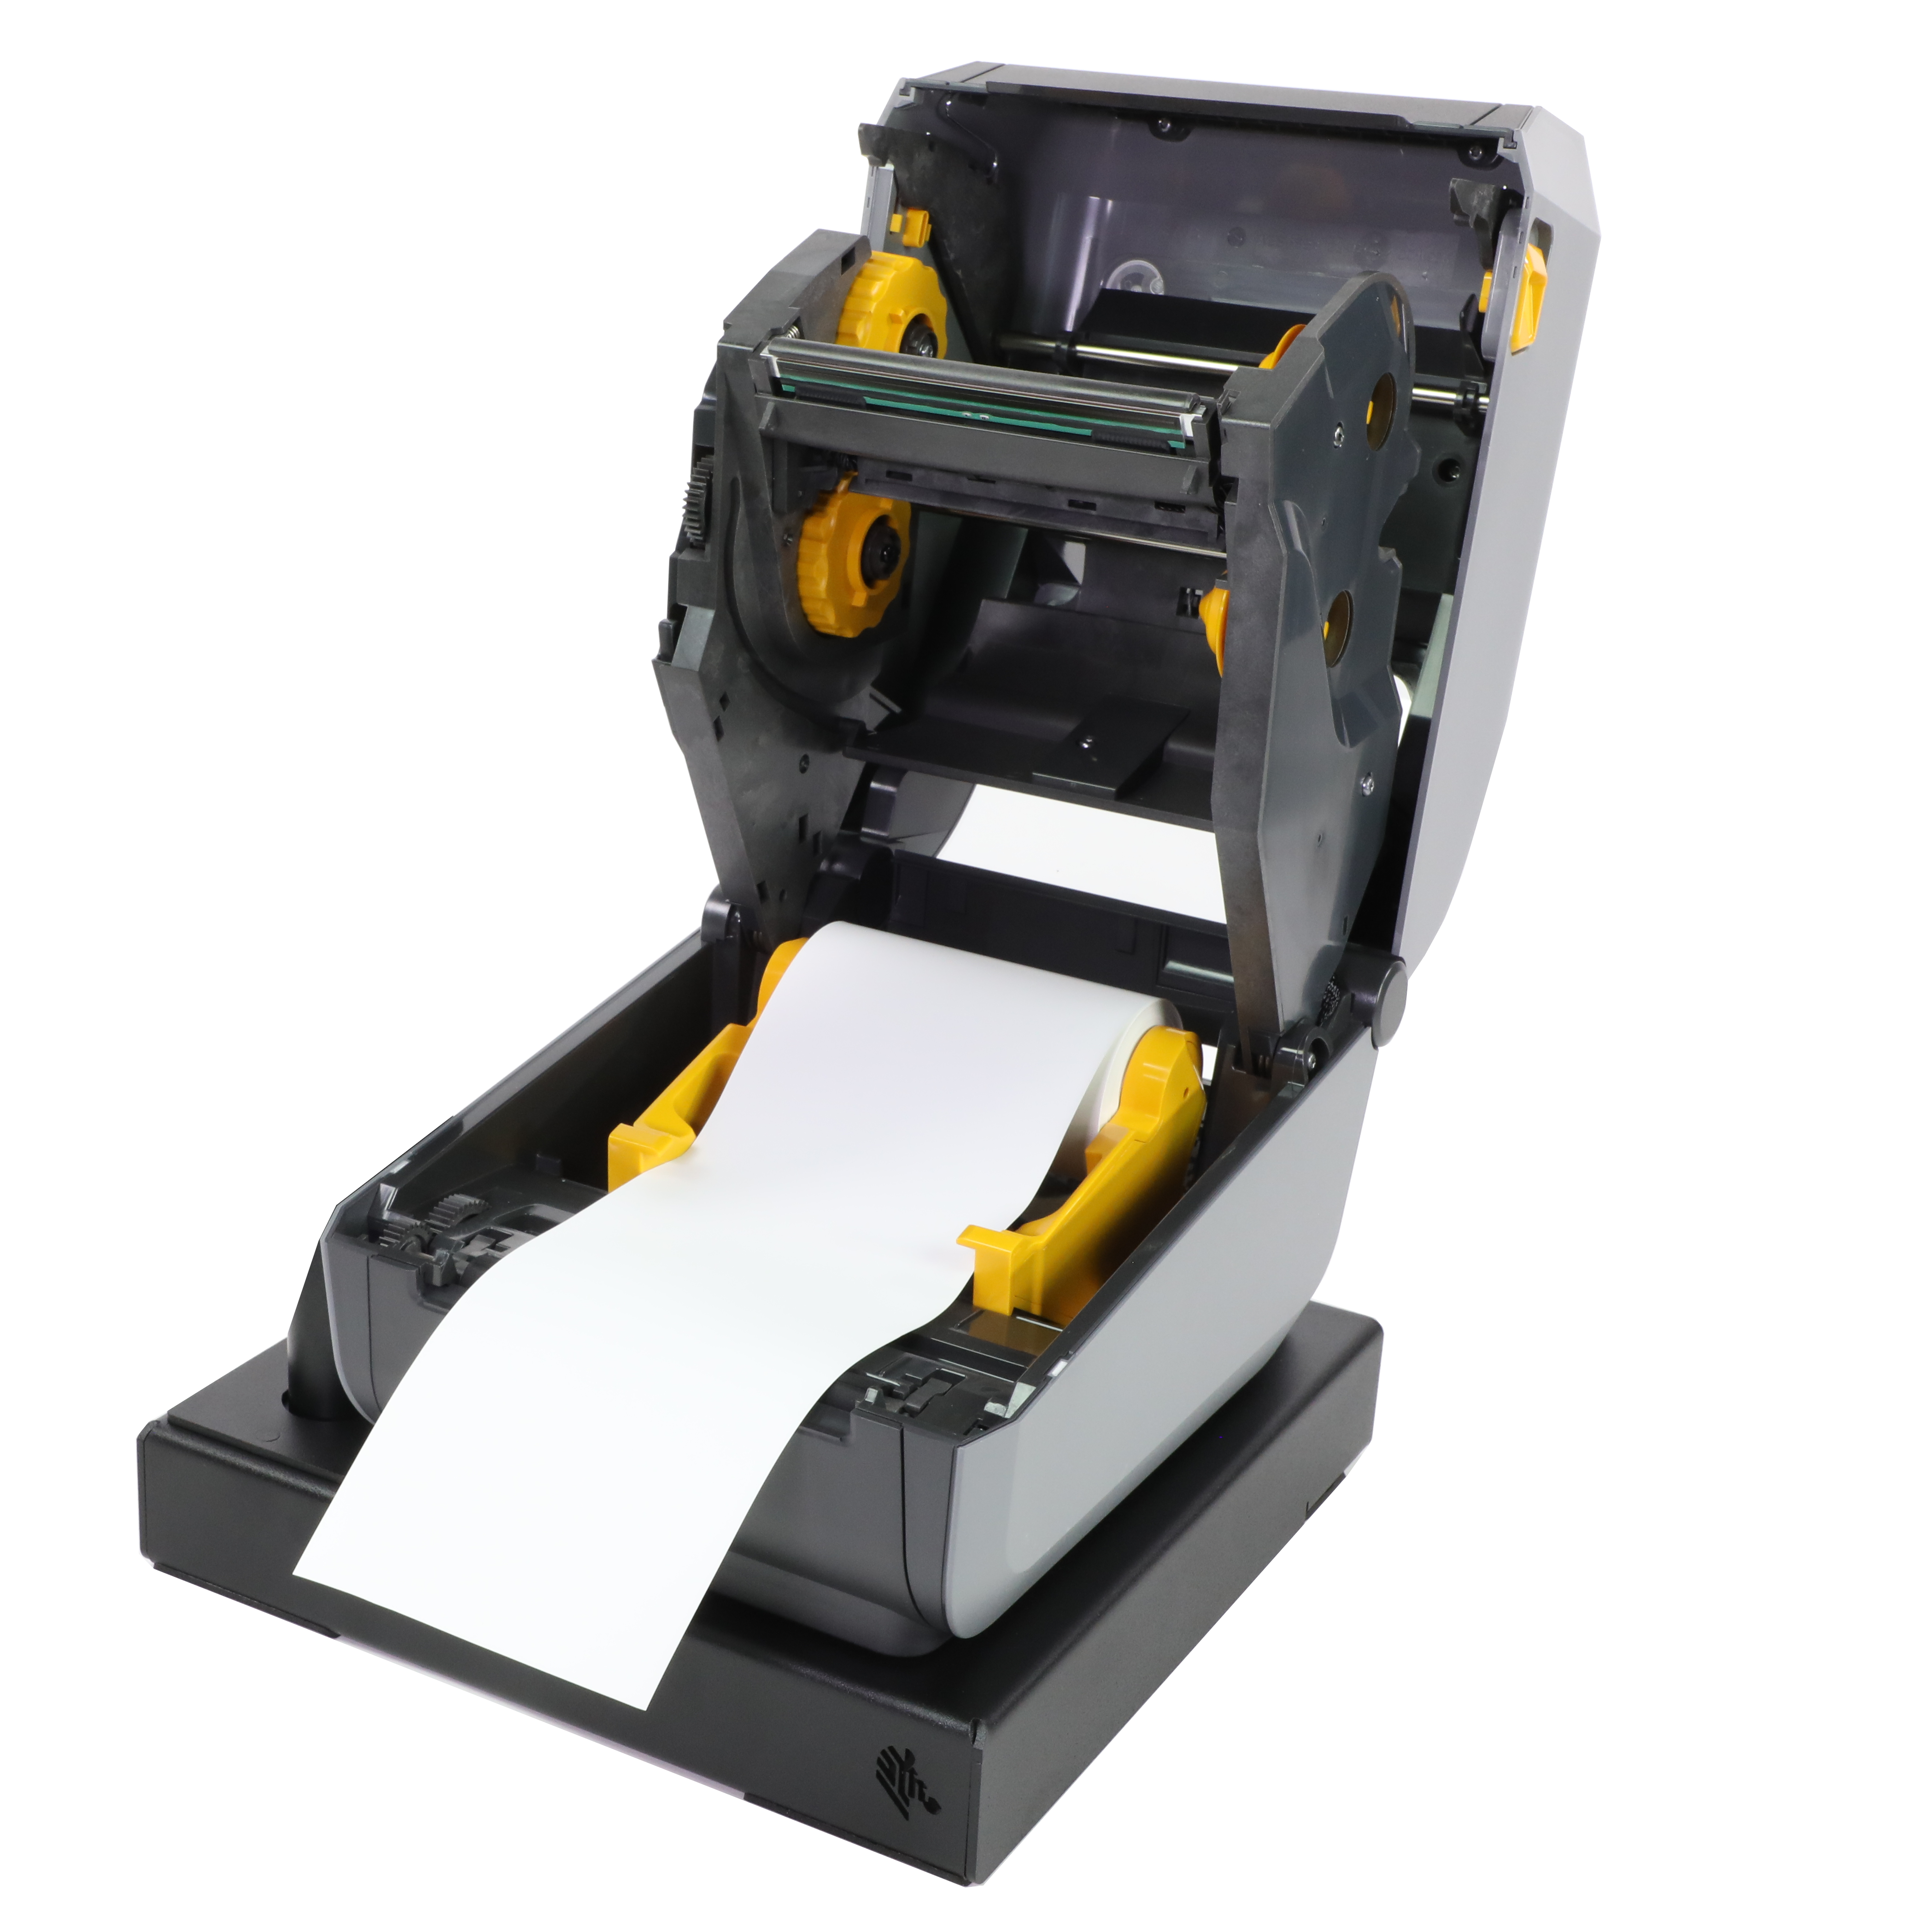
How to Switch Between Thermal Transfer and Direct Thermal Printing Modes
Step 1: Load Direct Thermal labels into your printer
First change the labels in the printer from thermal transfer labels to direct thermal labels. Direct thermal labels are specially made to react to heat from the printhead, which darkens the label creating the image, text or barcode. This is how you can print without ink.
Click here to find direct thermal labels specially suited to desktop printers.
Step 2: Navigate to Printing Preferences on your computer
From the computer that is connected with the printer, navigate to your printer settings.
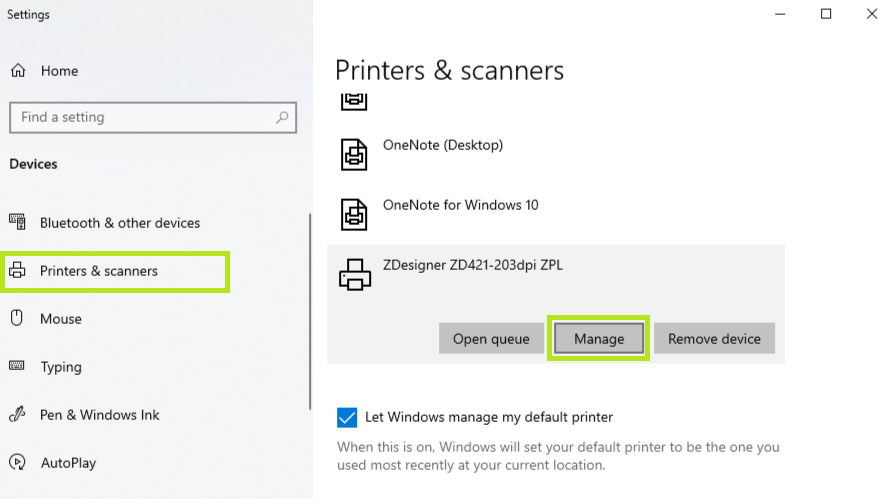
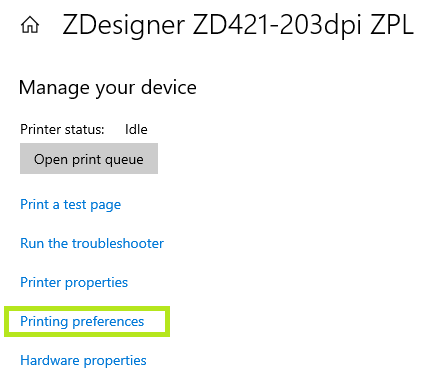
Go to; Printers and Scanners > Select the Printer > Click on Manage > Go to Printing Preferences.
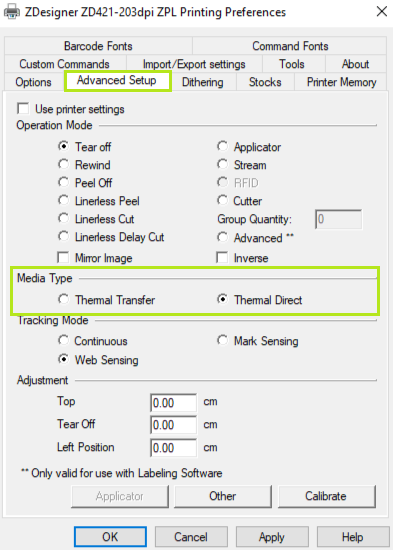
Step 3: Select ‘Thermal Direct’ media type in the Advanced Setup tab
Navigate to the ‘Advanced Setup’ tab and find the section for Media Type.
Select ‘Thermal Direct’ and then click ‘Apply’ to apply the changes to the printer.
Your printer is now ready to print direct thermal labels.
Explore our range of desktop printers for your business or stock up on direct thermal labels.

